Instructions
Thank you for choosing PrecutAutoTint as your trusted partner for your precut window tint project. We truly appreciate your confidence in our products and services. Your decision to partner with us reflects our shared commitment to quality, precision, and customer satisfaction. We are excited to support your window tinting needs and are dedicated to providing you with exceptional service every step of the way. We look forward to building a lasting relationship and helping you achieve the perfect tinting results for your vehicles.
Sincerely,
The PrecutAutoTint Team

When installing precut window tint, it's important to choose a warm, calm day with no wind to ensure optimal results. The warmth helps the tint adhere properly, while calm conditions minimize the risk of dust particles getting into the air and becoming trapped under the film, which can cause unsightly bubbles and ruin the finish. Alternatively, you can also opt to install the tint indoors where the temperature, film, and glass are all warm enough, providing a controlled, dust-free environment that is key to achieving a professional, flawless result.

Before starting the installation of your precut window tint, the first step is to carefully inspect each piece of tint included in your kit. Ensure that every piece is free of damage, such as scratches, creases, or imperfections. Additionally, check that all pieces match your order and are correct for your vehicle's windows. It’s crucial that the kit is complete and undamaged before beginning the installation process. If you find any issues, do not proceed with installation and contact us for assistance or a replacement.

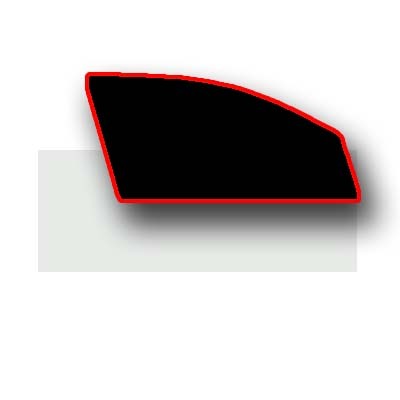
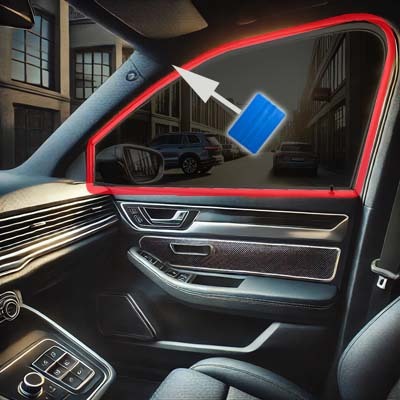
Before installing your precut window tint, take a moment to visualize how each piece will be positioned and oriented on your windows. Carefully match each tint piece to its corresponding window, ensuring you understand the correct fit and layout. It's important to remember that the tint will be applied to the inside of your windows, so consider the orientation accordingly. This step helps prevent mistakes during installation and ensures a seamless fit for each window.
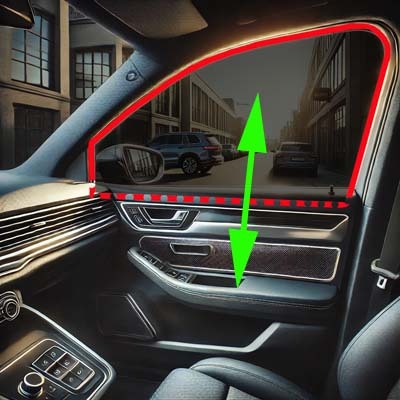
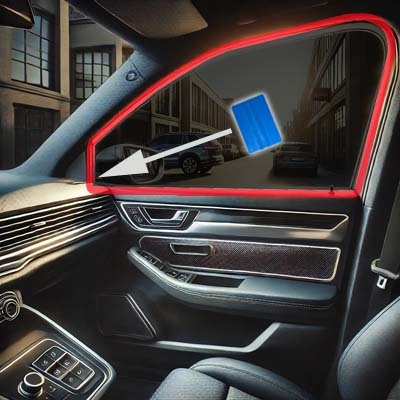
When installing precut window tint on any windows that move up and down, it's crucial to apply the tint underneath the rubber seals along the edges of the window. Gently lift the seals and slide the tint beneath them to ensure a secure fit. Failing to do this can cause the tint film to peel off or become damaged as the window moves, leading to an incomplete installation and reduced durability over time. This step ensures the tint remains securely in place during regular window use.
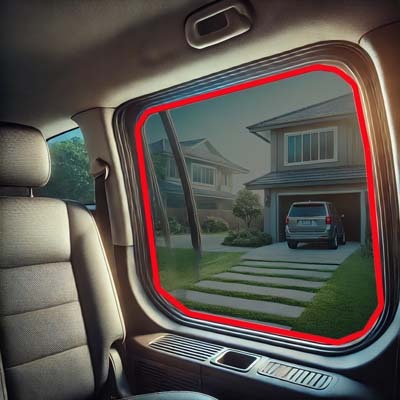
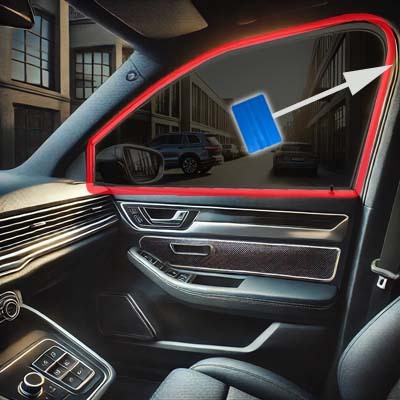
For static windows that do not move, installation of the precut window tint is straightforward. The edges of the tint pieces are precisely cut to match the size and shape of your windows, so they should line up perfectly with the window edges. Carefully position the tint, ensuring it is aligned evenly, and press it into place. This ensures a clean, professional finish without any gaps or misalignment along the edges.
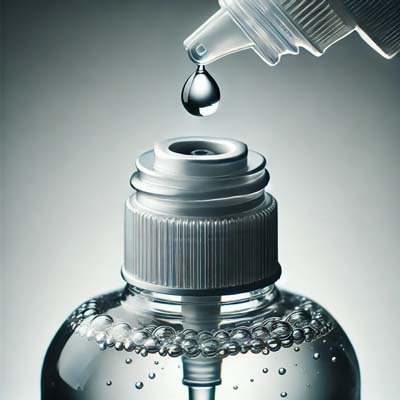
To prepare the application solution for installing precut window tint, mix 99% water with 1% mild soap, shampoo, or our optimal solution. It’s important to use only a small amount of soap, as too much can affect the tint's adhesion. A light solution is all you need to make the film slide into place smoothly while ensuring it sticks firmly once applied.

Before applying the precut window tint, thoroughly clean the windows using a lint-free towel. This step is crucial to remove any dirt, dust, or fingerprints that could interfere with the tint's adhesion or cause bubbles and imperfections. Make sure to wipe the surface completely, ensuring a smooth, clean finish for optimal results when installing the tint.
Carefully pull the precut window tint film off the clear liner, making sure not to kink or damage the film during this step. Handle the tint gently to avoid creases that can affect the final result. To make the process easier and to prevent the film from sticking to itself, you can spray the adhesive side with water as you remove it from the liner. This will help keep the film manageable and ready for application.
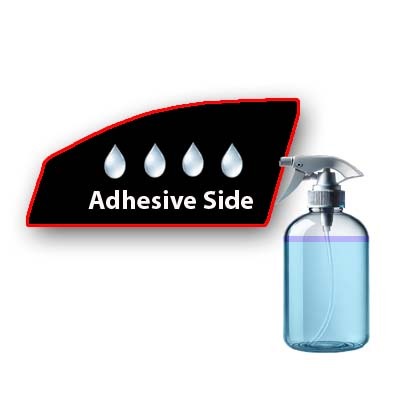
If you haven't already done so in the previous step, lay the precut tint piece flat on a clean, flat surface with the adhesive side facing up. Generously spray the adhesive side with water to activate the adhesive. This helps ensure smooth application and allows the tint to slide into place when you position it on the window.
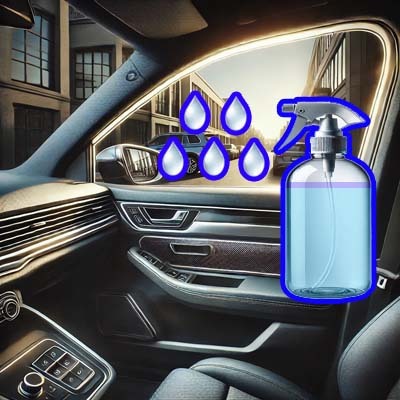
Now, spray the inside of your windows where the precut tint will be installed. This layer of water will help the tint slide into place more easily, allowing you to adjust it for a perfect fit before squeegeeing out any air bubbles. Make sure the window is thoroughly coated but not dripping excessively.
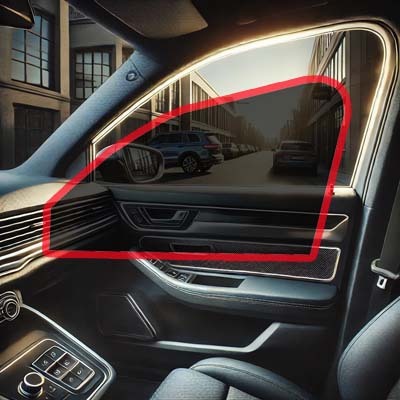
Carefully position the precut tint piece onto the window, ensuring that the adhesive side of the film does not touch any dirty surface of your interior, as this can pick up dust and create bubbles in the finish. Align the tint properly, using the water to help slide it into place before securing it for the final application.
Carefully slide the tint into position, making sure it's perfectly aligned for your application. Take your time to adjust the film, using the water to help it move smoothly. Ensure that all edges line up correctly and that the tint is in the optimal position before proceeding to the next step of the installation.
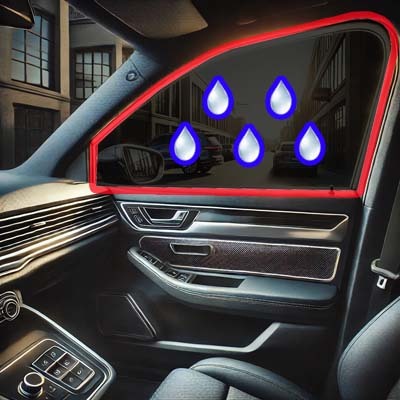
Now, spray the side of the tint film facing you with water to act as a lubricant for the squeegee in the next steps. This will help the squeegee glide smoothly across the surface without dragging or damaging the tint, ensuring a clean and even application.
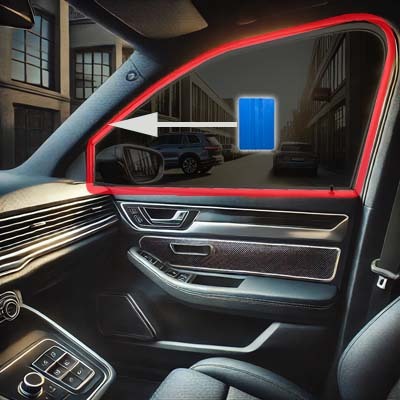
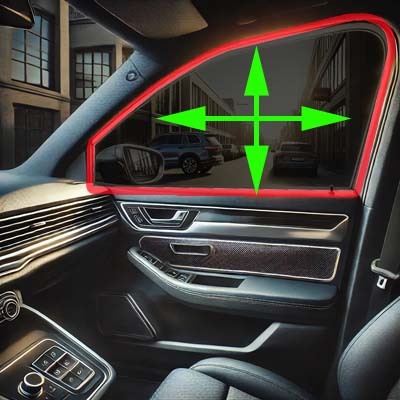
Using your squeegee, press firmly enough to remove all the water and bubbles trapped between the film and the glass. Start in the center of the tint and work your way outwards, using smooth, even strokes. This method ensures a tight bond to the glass and helps eliminate any air pockets, leaving a clean, professional finish.

Continue working out any remaining bubbles by applying steady pressure with your squeegee, always moving from the center of the film toward the edges. Be thorough in this process to ensure all water and air bubbles are completely removed, leaving the tint smooth and free of imperfections for a flawless finish.
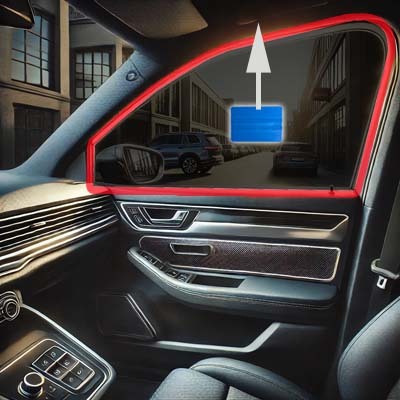
Now, use your squeegee to press the film by moving it up from the center. This ensures that any remaining water and air bubbles are pushed out towards the edges, helping the film adhere evenly and securely to the window for a smooth, professional look.
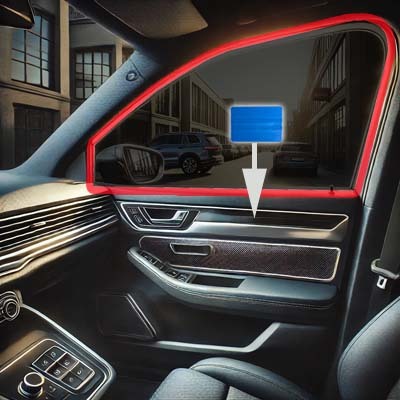
Next, squeegee the film downward from the center. This will help push out any remaining water or air bubbles toward the bottom edge, ensuring a tight bond between the film and the glass for a smooth, flawless finish. Continue this motion until the surface is clear of any imperfections.
Continue squeegeeing diagonally from the center, working towards the edges of the window. This technique helps to evenly distribute the pressure and ensures that any remaining water or air bubbles are pushed out, allowing the film to adhere properly and creating a smooth, bubble-free finish. Keep working in diagonal strokes until the film is securely in place.
Keep squeegeeing diagonally from the center, maintaining consistent pressure as you work toward the edges. Continue this process across the entire surface of the film, ensuring all water and air bubbles are removed. Pay close attention to the corners and edges to make sure the film is fully adhered, leaving no gaps or imperfections. Repeat as necessary until the tint is smooth and securely in place.
Once you've worked diagonally across the entire surface, continue with firm, consistent strokes to ensure all remaining moisture is removed from under the film. Check for any lingering bubbles or creases, especially near the edges, and gently push them out using your squeegee. Ensure the film is perfectly smooth and fully adhered to the window. If needed, go over any difficult areas again to achieve a flawless, professional finish.

Keep checking for any bubbles that may pop up and carefully work them out with the squeegee, using gentle but firm pressure. For more persistent bubbles that don't come out easily, you may need to wait a few hours for the film to dry and become tackier. Once the adhesive has set, carefully use the squeegee again to push the stubborn bubbles out slowly, ensuring a smooth and flawless finish. Patience is key to achieving a perfect result.

Allow the film to dry for 24-48 hours, depending on the temperature, before rolling down any windows. As the film cures, it will sharpen and become clearer over time. If you notice any haze between the film and the glass, don't worry — this is normal and should disappear after a few days of curing as the moisture evaporates and the adhesive fully sets, leaving a clean, professional finish.